


Unlocking the Power of Azure App Service: A Comprehensive Guide for Developers
Azure App service is a fully managed Platform-as-a-service (PaaS) provided by Microsoft Azure. It allows Developers to easily build and deploy Web and API applications without worrying about the underlying infrastructure. It supports multiple programming languages and frameworks. It includes .NET, Java, Node.js, Python, and PHP.

Azure App service is a fully managed Platform-as-a-service (PaaS) provided by Microsoft Azure.
It allows developers to easily build and deploy Web and API applications without worrying about the underlying infrastructure. It supports multiple programming languages and frameworks. It includes .NET, Java, Node.js, Python, and PHP.
Key Features
- Scalability: It can be easily scaled up and down based on the demand.
- Deployment slots: We can use a staging environment also inside the deployment slots, and we can swap the slots inside the deployment slots.
- Monitoring and diagnostics: We can monitor application performance and health using the built-in monitoring and diagnostics tool.
- Integration: Easily integrated with other Azure services like Azure SQL Database, Azure Active Directory, and Azure Storage.
- DevOps integration: It can be easily integrated with Azure DevOps and other CI/CD tools for continuous integration and deployment.
Creating a web application in the Azure app service for deploying .NET 8 web applications.
- Login to the Azure portal
- Create a resource Group
- Create an Azure App service plan
Azure App Service Plan
The Azure app service plan is a basic component of the Azure app service platform which provides the necessary infrastructure resources to run web applications, APIs and Mobile backends. It defines the computer resources, such as CPU, memory, and storage, allocated to host and scale applications within the Azure environment.
Pricing
Azure App Service plans come with different pricing tiers to accommodate various performance and budget requirements. Pricing is typically based on factors such as resource allocation, region, and additional features like deployment slots and custom domains.
Creating Azure App Service Plan

In the Azure portal, you can follow the steps below to create a new app service plan.
- Search >> Azure app service plan
- Click on Create to create a new app service plan.
Different applications may require specific operating systems to run properly. For example, .NET applications might require Windows, while Node.js or Python applications might work well on Linux. Choosing the appropriate OS ensures that your application can run without compatibility issues.
Select the Region and Pricing Plan
App Service plan pricing tier determines the location, features, cost and computer resources associated with your app.
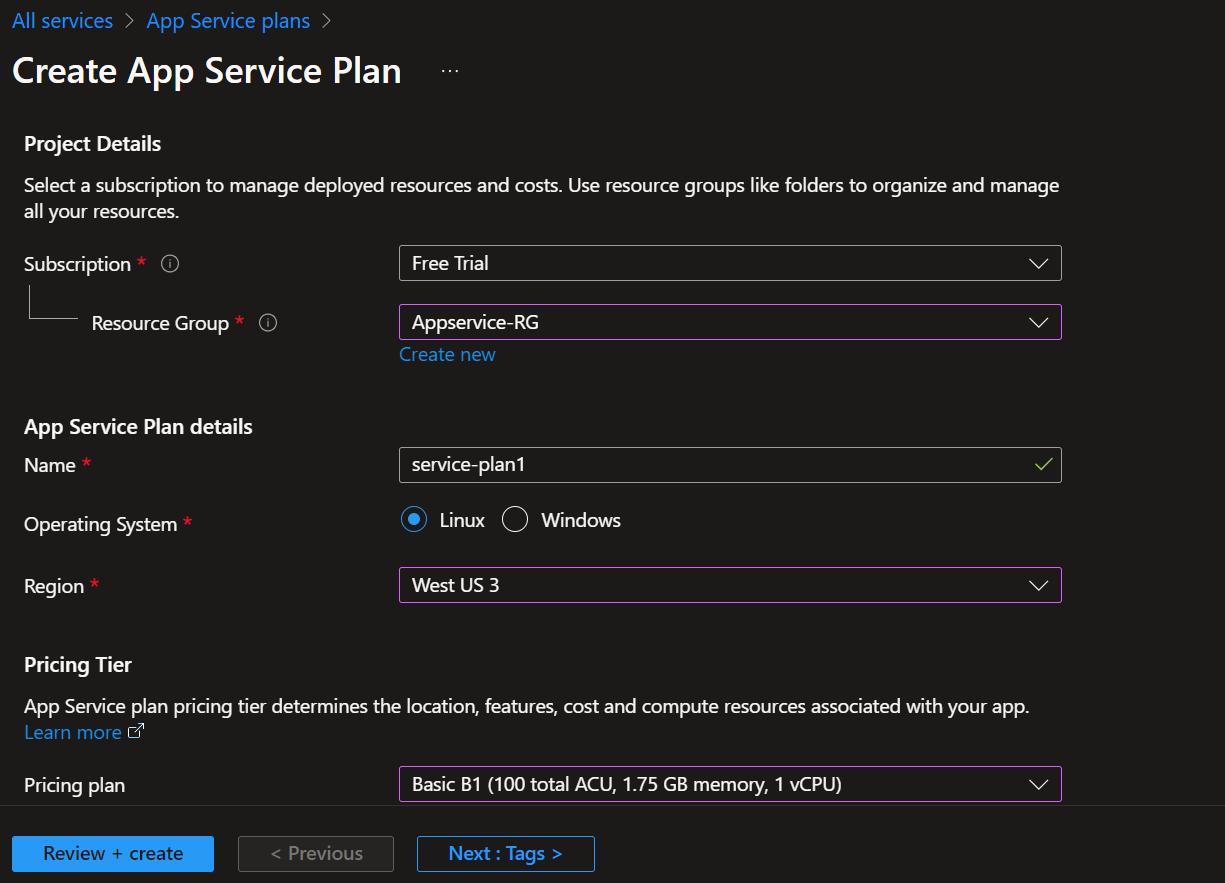
- Select >> subscription >> Resource group
- Name the app service plan and select OS
- Select the Pricing plan size
- Click review and create app >> Azure app service plan will get created.
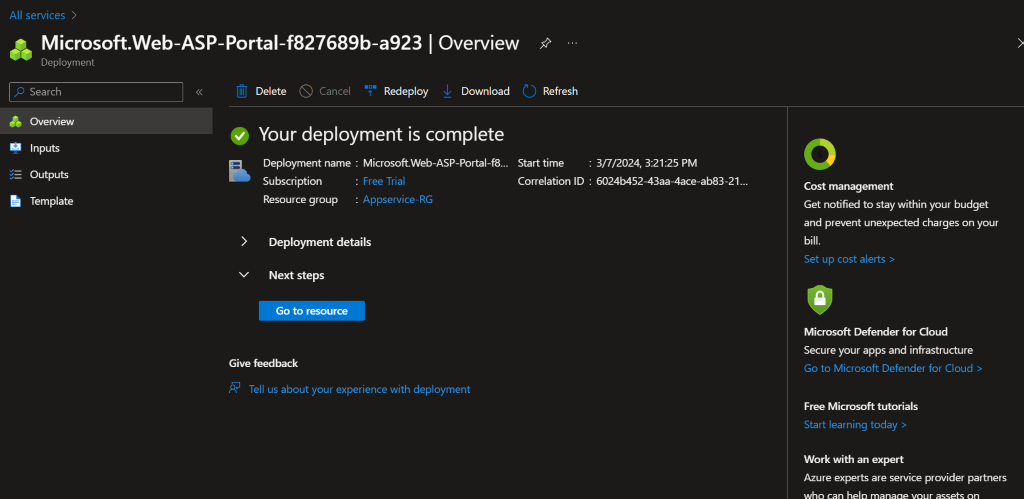
After creating an Azure app service plan, we need to create an Azure App service inside the app service plan. Every app service we are creating will get created inside the Azure app service plan. A single app service plan may contain multiple Azure app services.
Create App Service
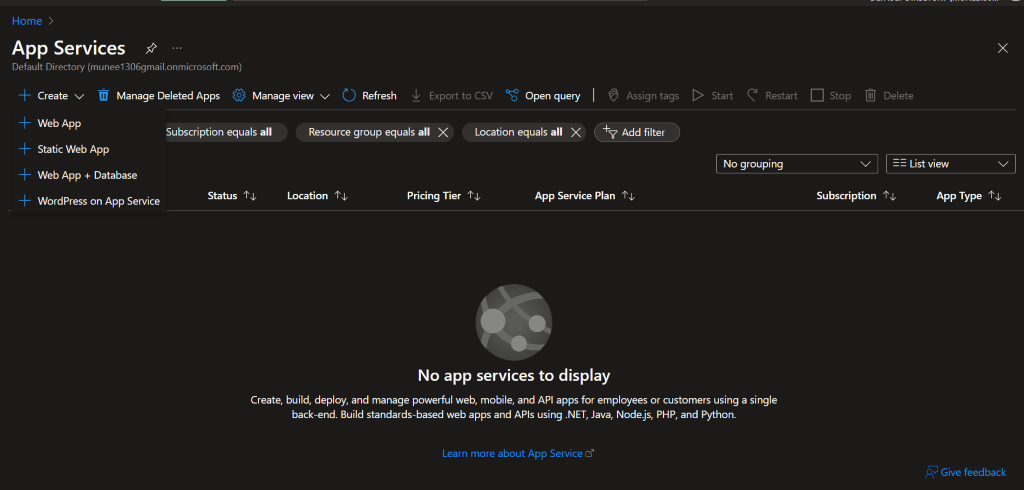
In the Azure portal, search for App services >> click Web App.

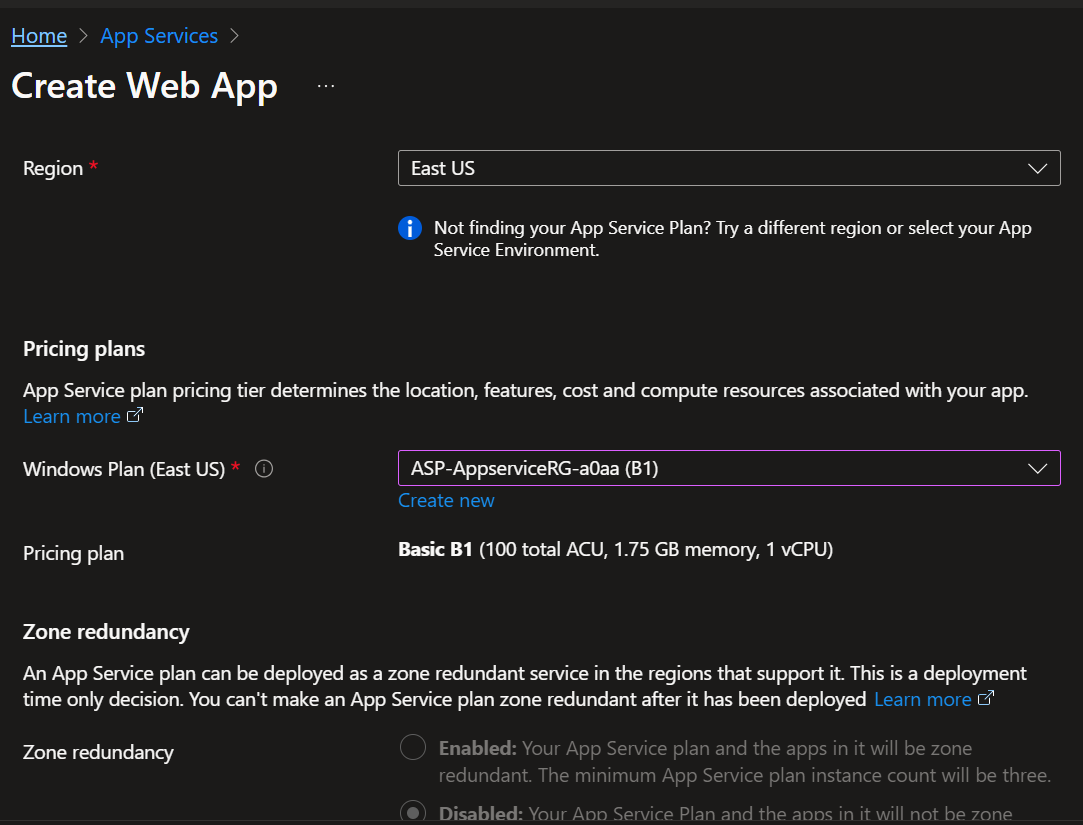
- Select the subscription, Resource Group
- Provide a name for the app service. The name should be unique
- Select Publish. Code (or) Docker Container (or) Static Web App
- Select runtime (.NET, Node, PHP, Python, JAVA)
- Select a region to deploy.
- In Pricing Plan Select the Azure app service plan we have created.

We can also select Database if we need to.
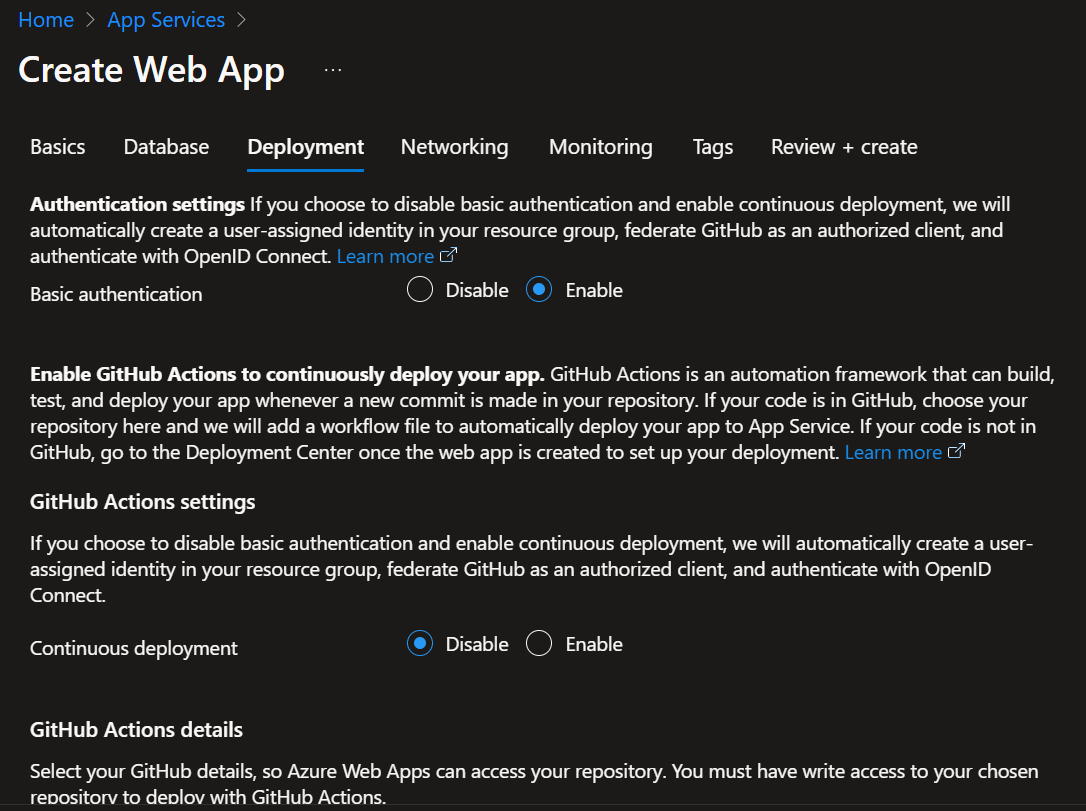
Select the deployment steps as per our needs. Here we are only enabling basic authentication.

In the Networking section, select the options in both Enable public access and Enable network injection.
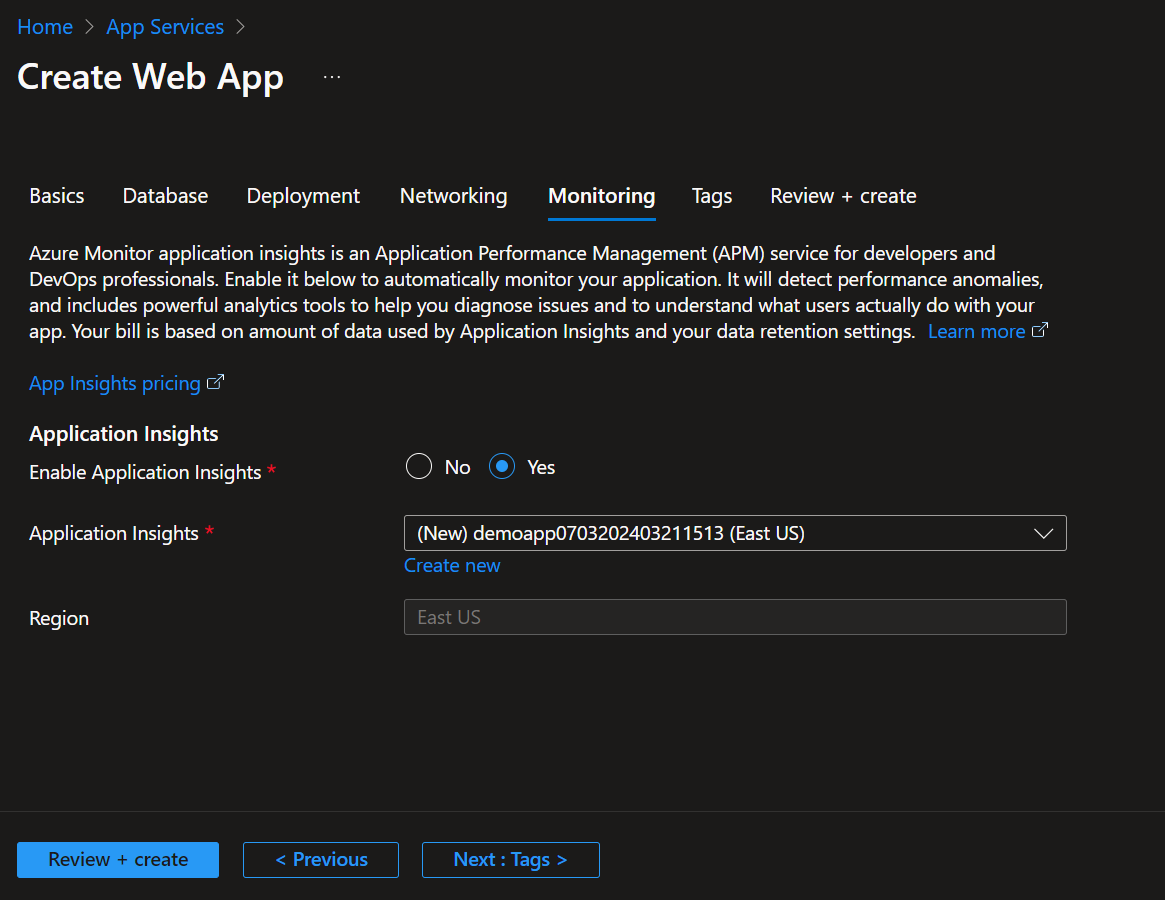
In the Monitoring section, allow Enable Application insights. It will create a monitoring insight and start monitoring the application performance.
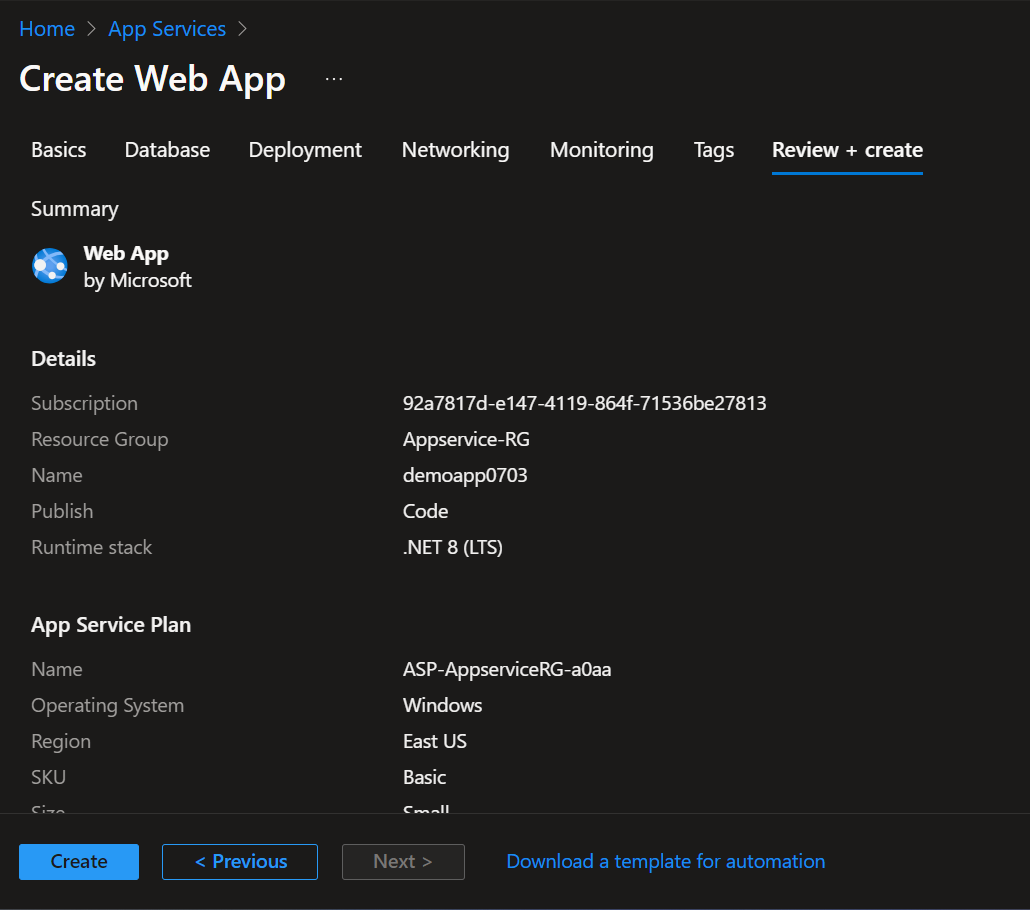
After all the steps have been completed, we can review the configurations and click on Create. Now, the app service will be created.
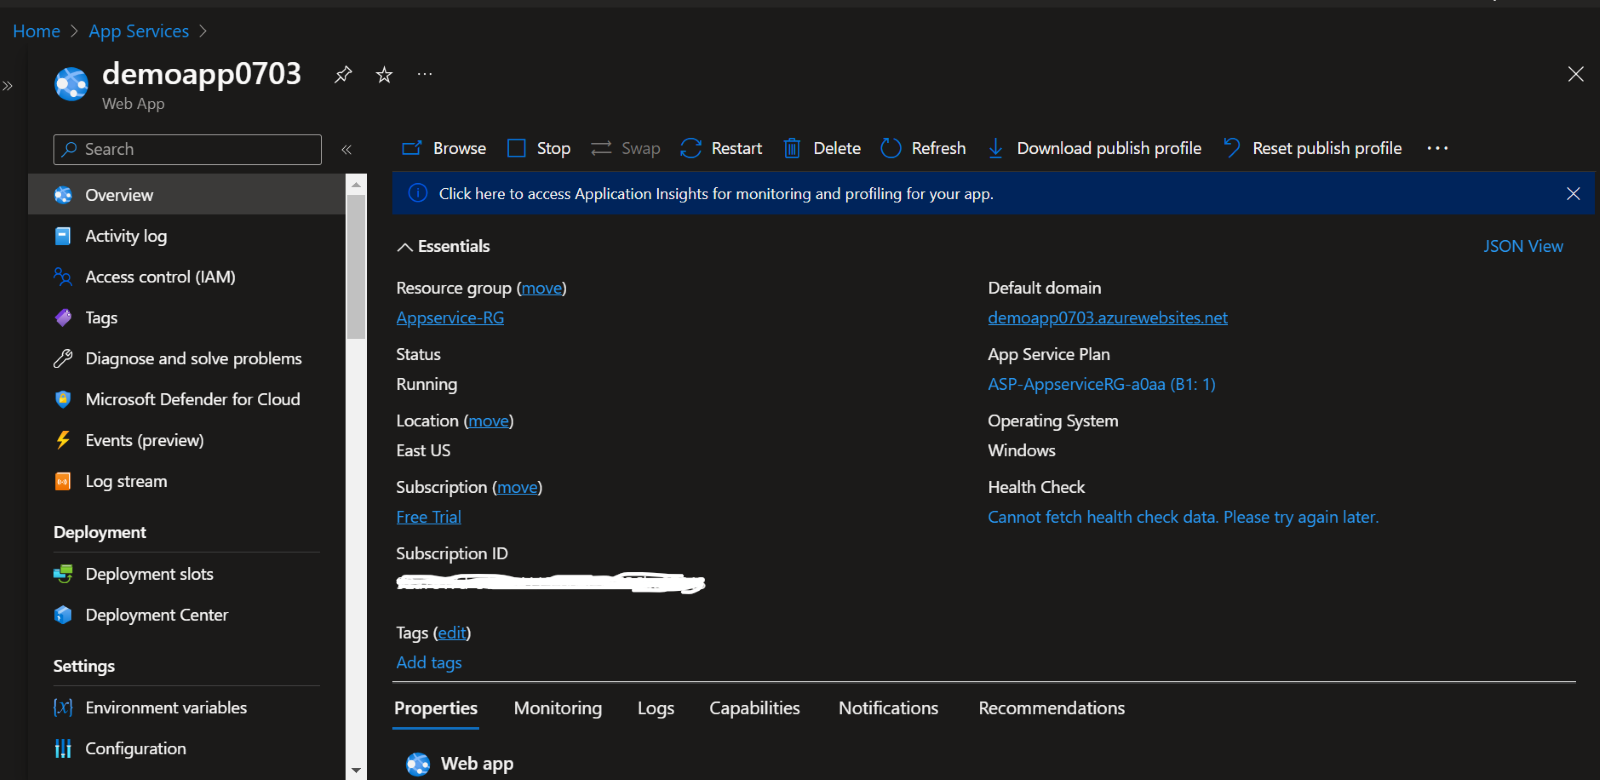
This is the overview page of the Azure app service we have created. On this page, we can see the default domain; there is a URL. Click on the URL. This is the default page of the Azure app service that we have created.
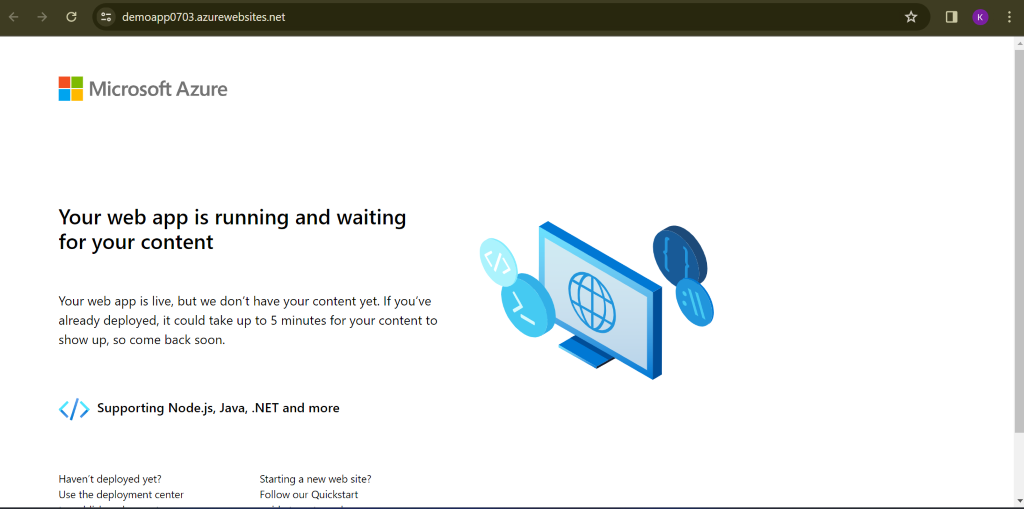
This will be the default web page, and we can publish our code inside the web app by various methods.
Using Visual Studio, create a project .NET 8 project. There are some sample projects available in a visual studio.
Publish the sample project to the web app by creating a publish profile. Add a publish profile. Right-click>> project name >> click publish.
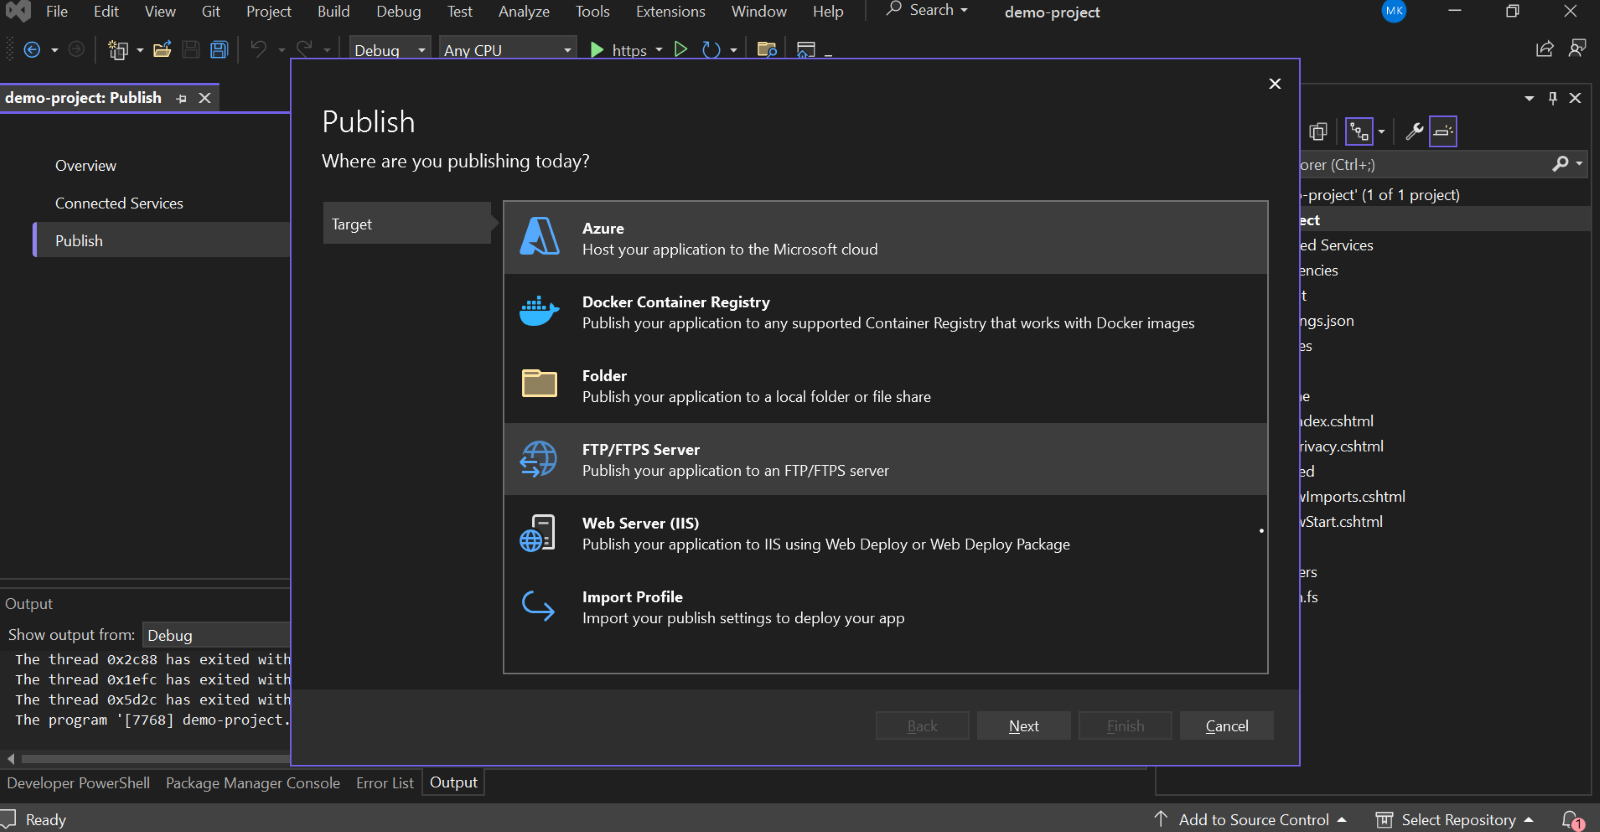
Select Azure to deploy our project in the Azure environment.

Select Azure App Service (windows).
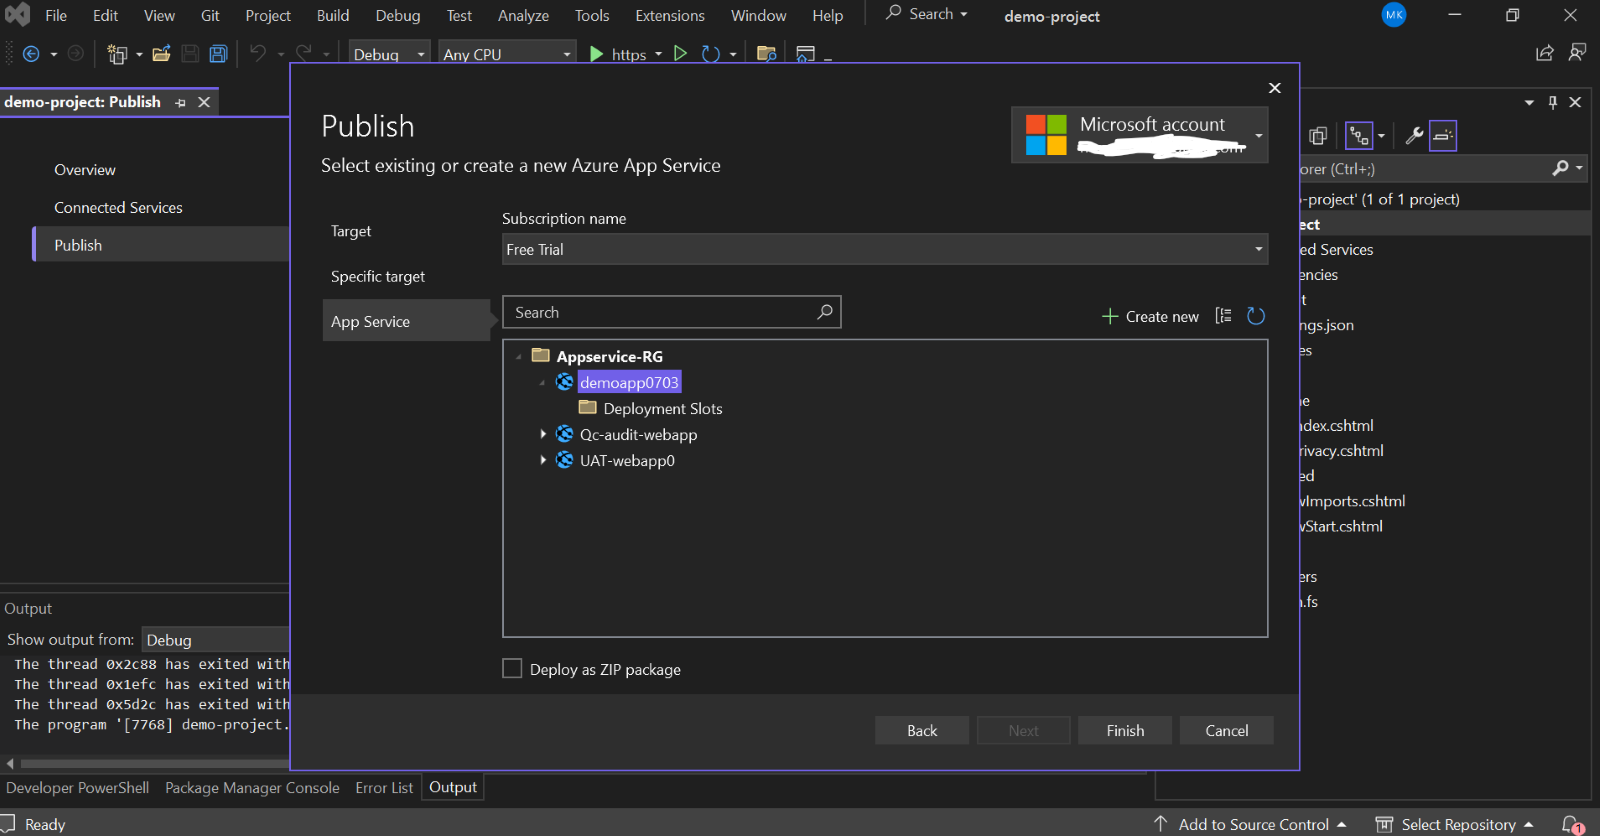
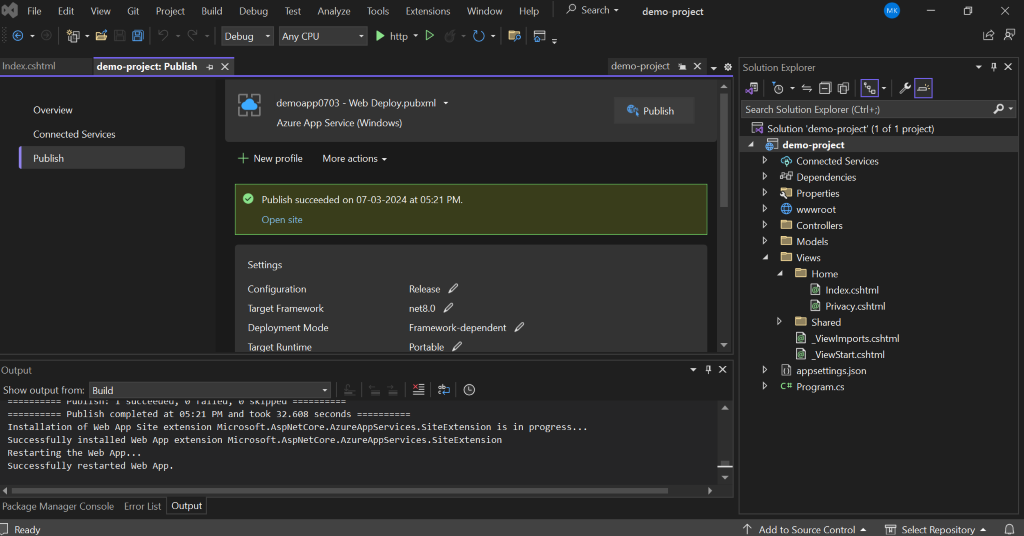
Select the appropriate resource group >> app service. The Publish Profile has been created successfully.

Click >> Publish to deploy the source code inside the web app.

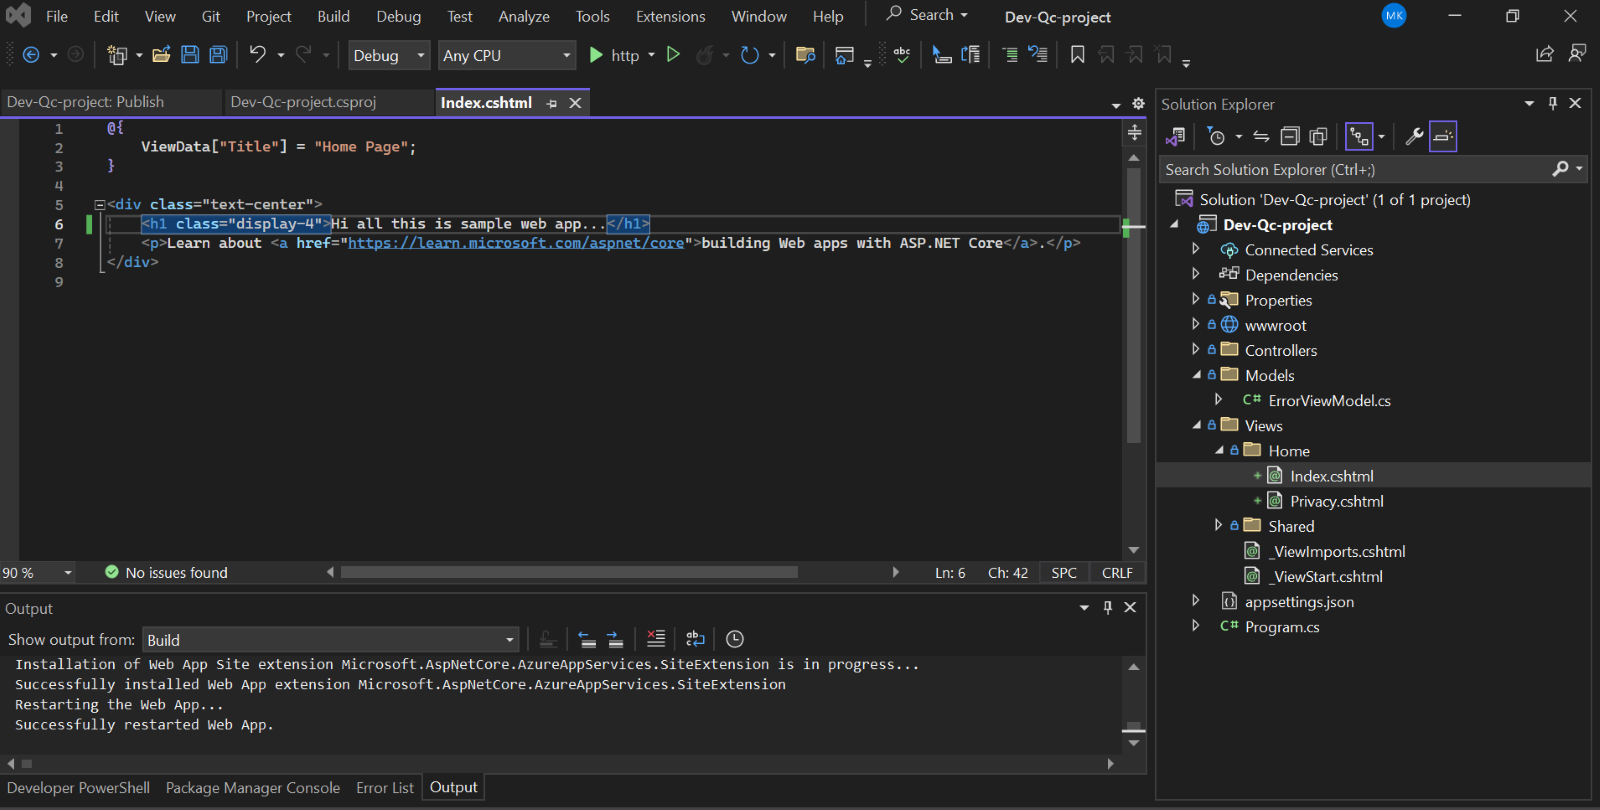
The Web app has been deployed successfully after making some changes in .NET code. We can develop our project as per our needs and save those changes and we can deploy it inside the azure app service. The deployment is made easier in this way we don’t need to manage any underlying architecture. Done some changes in index.html file.
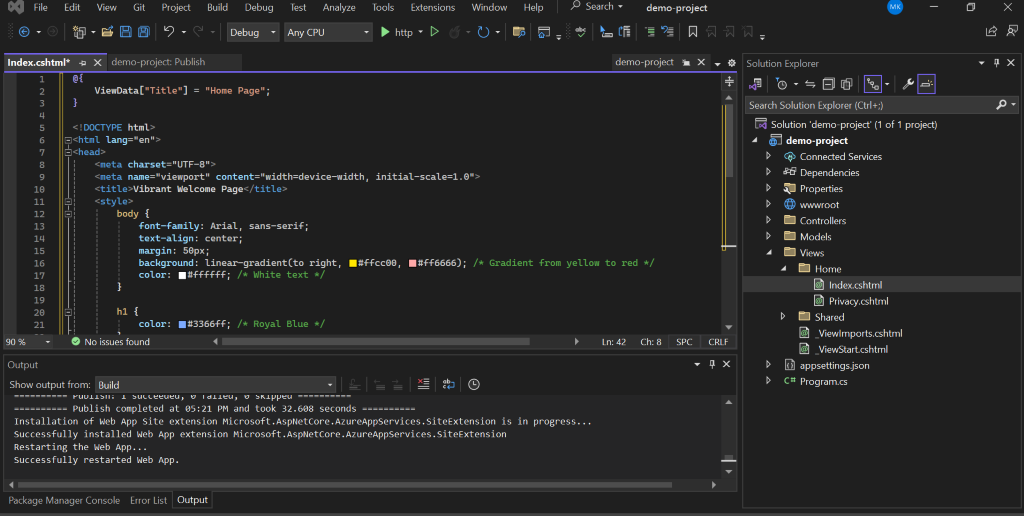
Then Publish to the same profile.
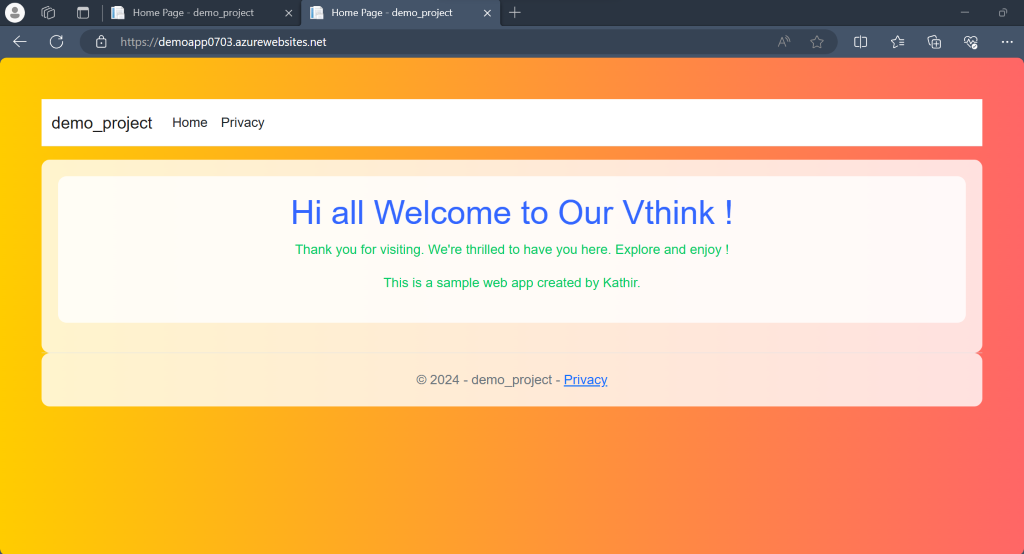
Go to the overview page of the Azure web app. Copy the URL and paste it into the browser.
Overall, Azure App Service simplifies the process of deploying and managing web applications, allowing developers to focus more on building great software and less on managing infrastructure.